Indoor Humidity
Mold Prevention in Apartments: What You Can Control
Learn the basics of mold prevention in apartments, including humidity control, condensation checks, airflow and when to involve the landlord.
Key takeaways
- Mold needs moisture + a surface — remove one and growth slows (EPA mold and moisture guide).
- Clean small spots safely; large infestations are not a DIY content problem.
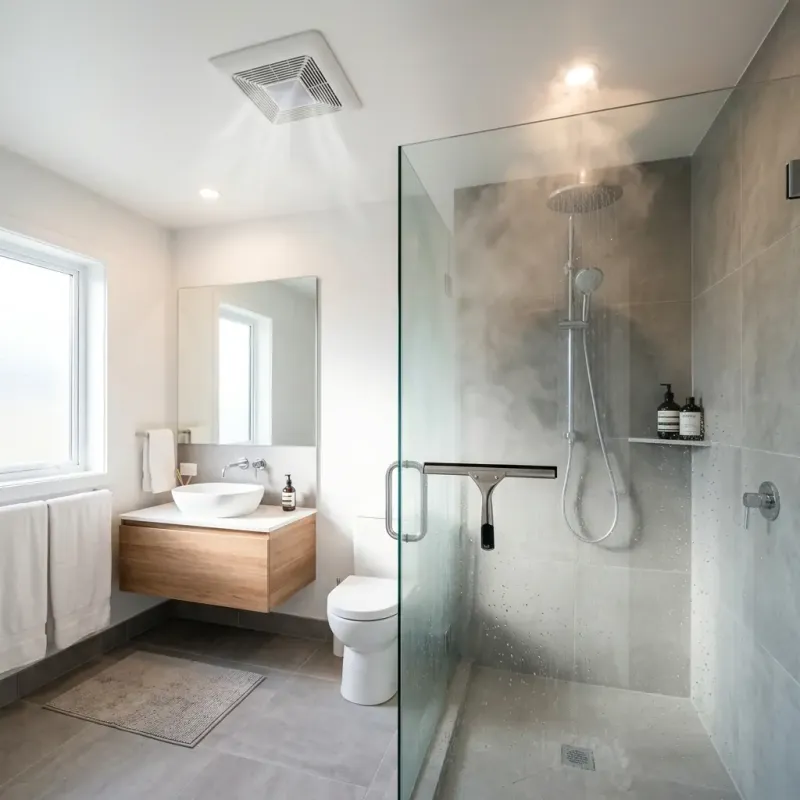
- Vent bathrooms and keep furniture slightly off cold exterior walls.
- Never paint over active mold and call it fixed.
What to check first
- Find the moisture source.
- Check RH trends.
- Inspect behind wardrobes on exterior walls.
- Confirm bath fan exhausts outdoors.
Dwell Calm tip
Leave an air path behind furniture on a cold exterior wall, inspect the hidden surface regularly, and address moisture rather than repeatedly spraying visible spots.
When to get help
Large areas, HVAC contamination, or health symptoms → qualified remediation.
Prevention habits that matter
Wipe window condensation, fix leaks fast, dry towels fully, and avoid permanently wet bath mats. Dehumidify closed damp rooms in humid months.
Cleaning vs remediation
Small non-porous surface spots can be cleaned with appropriate products and gloves. Soft porous materials that stay musty often need removal — that is landlord/pro scope.
Document for leases
Photo date-stamped growth and send written notice. Silence helps nobody if the envelope is failing.
Prevention that actually changes surfaces
Mold needs moisture and time. Remove one and growth slows.
Daily habits
Run bath fans longer than the shower. Wipe window condensation. Dry towels fully. Keep wardrobes a few centimeters off cold exterior walls.
Cleaning vs remediation
Small spots on hard surfaces can be cleaned carefully with gloves and product instructions. Large areas, soft porous materials, or HVAC contamination need professionals and landlord involvement.
Documentation
Date-stamped photos and written notice protect you if the envelope is failing.
Step-by-step moisture investigation
- Document before disturbing. Photograph the location, nearby materials, and any condensation, staining, or leak. Note dates and weather.
- Look for the water source. Check plumbing, windows, ceilings, exterior walls, wet fabrics, and recent spills without opening walls or equipment.
- Measure the room trend. Place a hygrometer away from windows and vents and compare readings across several days and activities.
- Test existing exhaust. Confirm bathroom and kitchen fans operate and that accessible grilles are not blocked.
- Dry ordinary wet surfaces promptly. Wipe condensation, hang towels to dry, and keep damp items away from walls and floors.
- Recheck the same location. Recurrence after reasonable moisture control points to a leak, cold surface, or ventilation defect that needs maintenance.
Symptom, cause, check, and action
| Symptom | Possible cause | Check | Action |
|---|---|---|---|
| Spots behind furniture on an exterior wall | Cold surface and stagnant damp air | Inspect the hidden wall and furniture back | Create an air path, dry the area, document recurrence |
| Stain grows after rain | Building-envelope leak | Compare wet and dry weather | Report promptly; do not paint or seal over it |
| Musty odor with no visible source | Hidden damp material | Check closets and accessible adjacent areas | Request inspection rather than opening walls |
| Bathroom remains wet after use | Weak exhaust or inadequate use | Confirm the fan operates and air is drawn at the grille | Use existing exhaust and report poor performance |
| Growth repeatedly returns after cleaning | Moisture source remains | Review leak, condensation, and humidity records | Escalate the source instead of repeating surface treatment |
Errors to avoid
- Mixing cleaning chemicals or applying a product contrary to its label.
- Painting, fragrancing, or caulking over active growth and damp material.
- Dry brushing, sanding, or aggressively disturbing unknown contamination.
- Assuming tenant behavior caused staining before leaks and ventilation are checked.
- Running a fan that spreads material from a contaminated area through the apartment.
- Entering unsafe spaces or dismantling HVAC equipment to search for a source.
What renters can control and what they cannot
Renters can use installed exhaust, keep accessible surfaces dry, avoid blocking vents, create airflow around furniture, monitor humidity, and report problems early. They cannot repair failed plumbing, exterior leaks, wet wall cavities, defective windows, or building ventilation. Keep dated photographs, humidity notes, copies of written notices, and the landlord's responses. Follow the lease and local reporting process rather than making permanent alterations.
Contact the landlord or a qualified professional for active leaks, soft or crumbling materials, recurring growth, contamination involving ventilation equipment, sewage, or an area too extensive to address safely. The EPA mold and moisture guide explains that moisture control is central and identifies circumstances for professional help. Anyone with health concerns should seek medical guidance; appearance alone cannot establish a diagnosis.
Build a prevention routine around evidence
Inspect the same moisture-prone locations regularly: window corners, bathroom ceilings, sink cabinets, closet backs, and exterior walls behind large furniture. The goal is not constant cleaning; it is early detection of water, condensation, odor, or material damage. Keep exhaust grilles clear, let wet textiles dry fully, and avoid pressing stored items against a surface that repeatedly feels damp. When weather or occupancy changes, compare conditions rather than assuming an earlier solution will always be sufficient.
If a cleaned hard surface develops new spots, record how quickly they returned and what moisture conditions occurred in between. Recurrence is evidence that source control is incomplete. Do not repeatedly treat the surface while a leak or ventilation failure continues. Written reporting should describe the location, extent, odor, related water signs, and prior notices without guessing the species or health effect.
Separate prevention, cleaning, and repair
These are different tasks. Prevention keeps ordinary moisture from remaining on surfaces. Cleaning addresses limited visible residue on an appropriate accessible material. Repair corrects the leak, failed exhaust, cold-surface defect, or damaged building material that allowed recurrence. Treating one task as a substitute for another is why many apartment problems return.
Before cleaning, photograph the area and identify whether the material is hard, porous, deteriorated, or still wet. Follow the product label, ventilate as directed, and never combine products. Stop if the source is unknown, the material is damaged, contamination may be hidden, or work would disturb a broad area. A landlord or qualified professional should determine the repair and remediation scope. The CDC and EPA both emphasize correcting moisture; surface appearance alone does not establish whether the underlying problem has been resolved.
Related guides
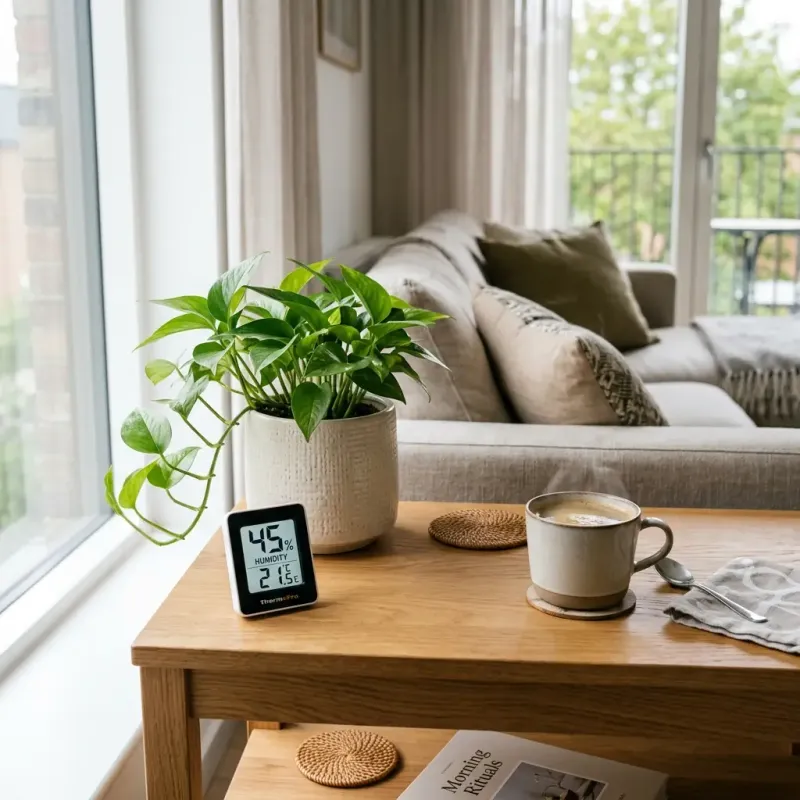 Normal Room HumidityRoom-by-room humidity targets with EPA moisture ranges.
 Condensation on WindowsWhat sweating glass usually means in a rental.
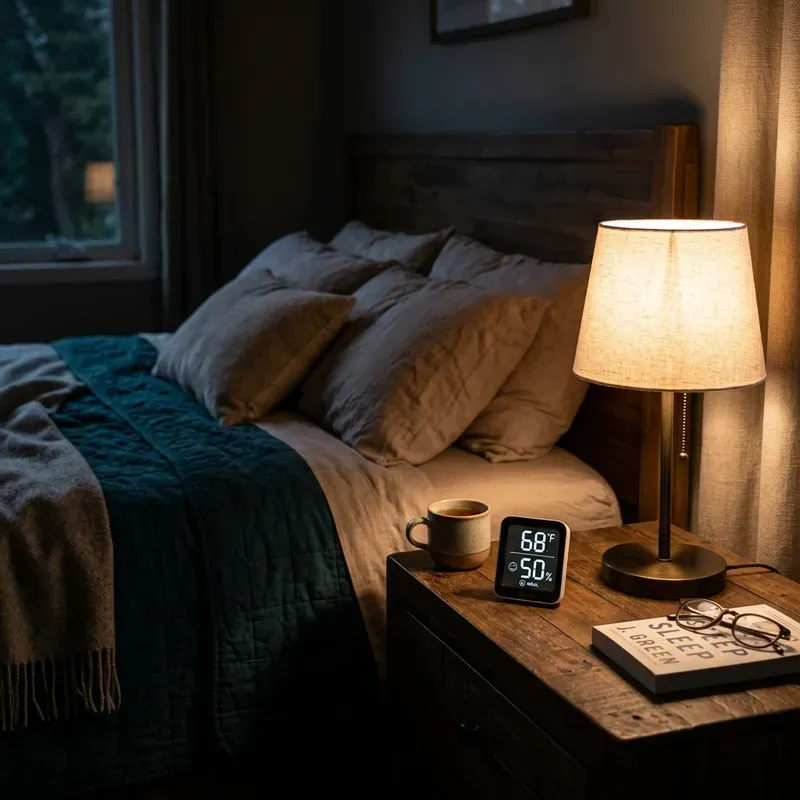 Bedroom HumidityNight readings and window condensation.
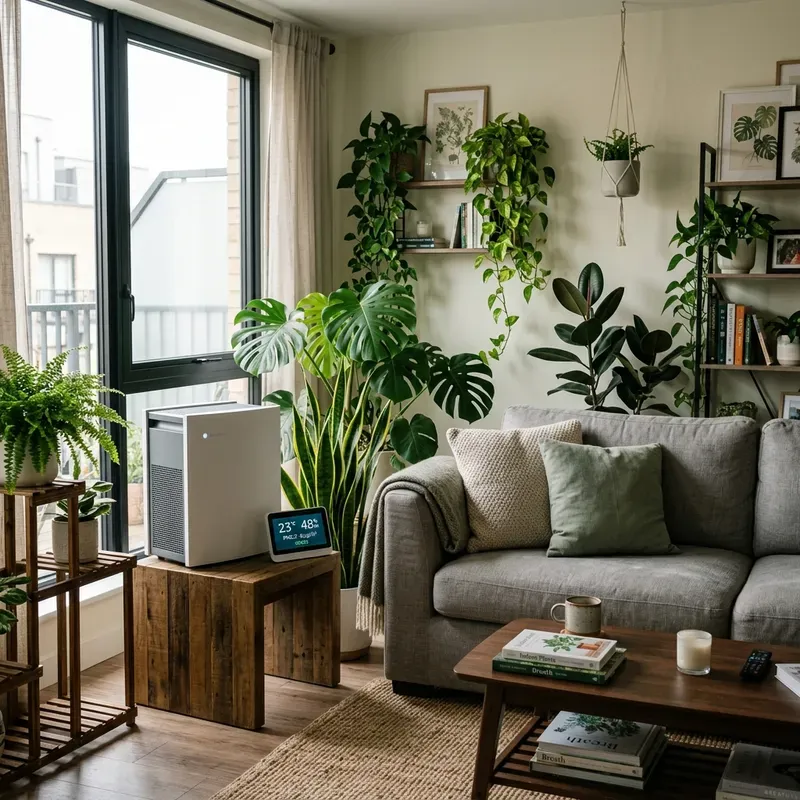 Why Apartments Feel StuffyStale air, weak exhaust, and closed-room moisture.
 Dehumidifier vs Fan vs WindowWhich moisture move to try first.
FAQ
Can I prevent all apartment mold myself?
No. You can reduce everyday moisture, but leaks, wet building materials, and ventilation failures need maintenance or qualified help.
What should I document?
Photograph condensation, staining, leaks, musty areas, humidity readings, and dates. Written records help separate habits from building problems.
Is bleach enough for mold prevention?
No. Cleaning without fixing moisture often lets the problem return. Moisture control and ventilation matter more than covering the symptom.